Today, I want to share how to improve garden soil using kitchen waste, a method from Kin-chan Farming.
If you’re thinking about trying this, you might wonder:
- What materials do I need?
- How long does it take to prepare the soil?
- What are the challenges?
- What does the soil look like after the process?
Let’s answer these questions step by step.
If you are wondering “What is Kin-chan Method’?”, then you should read this first 👇
Steps to Add Kitchen Waste to Your Garden Soil
- Spread the fermented kitchen waste on the garden bed.
- Build the garden rows (mounds).
- Cover the rows with black mulch.
After One Month:
The soil becomes noticeably soft and fluffy, a result of natural fermentation.
What is “Kin-chan Kitchen Waste”?
“Kin-chan Kitchen Waste” is a method of organic farming that uses household food scraps fermented with EM Bokashi (beneficial microbes) and natural salt.
The fermentation process enhances soil fertility.
It’s eco-friendly, reduces household waste, and is cost-effective compared to buying commercial fertilizers.
Materials Needed
- Kitchen waste (vegetable and fruit scraps; I avoid animal products for beginners)
- EM Bokashi (available on Kin-chan Farming’s website or online marketplaces)
- Natural sea salt
- A storage container (I use the largest Tupperware from a 100-yen store)
- Optional: Large zip-lock bags
Just these simple ingredients are enough to get started!

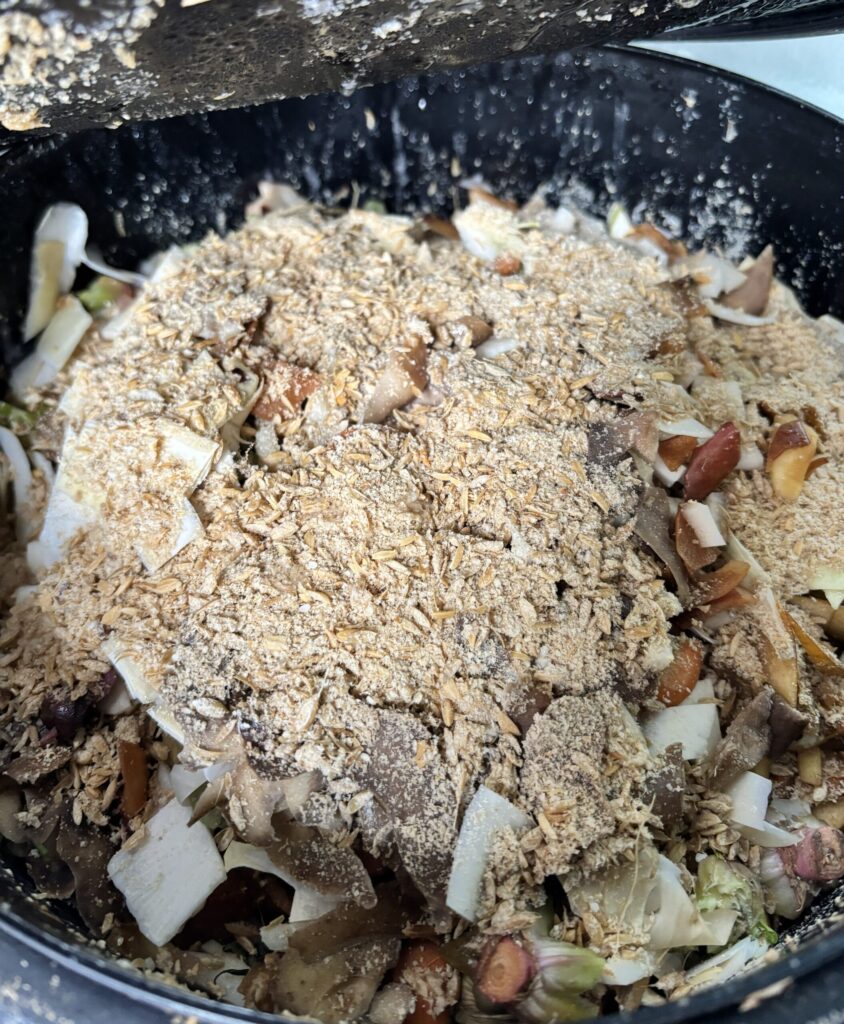
How to Make Fermented Kitchen Waste
- Chop the scraps
Collect vegetable and fruit scraps daily and chop them into roughly 2 cm pieces for faster decomposition. - Mix with EM Bokashi and salt
Place scraps into a container, add a handful of EM Bokashi and a pinch of salt, and shake to mix.- EM Bokashi: About the size of a rice cake
- Salt: Around 3% of the total scraps, like regular pickling
- Seal tightly
Minimize air exposure to prevent mold and rot.- Bad mold colors: red, blue, black
- Good mold color: white
In summer, refrigerate the mixture; normally, store in a shaded area at room temperature.
Fermentation period: About 1 month before using in soil.
Time Required for Soil Preparation
Overall, plan for 2–3 months:
- Collect and ferment kitchen scraps: 1 month
- Let the mixture sit at room temperature: 2 weeks
- Mix with soil and cover with mulch: 1 month of fermentation in the garden
Tip: For my 4-meter garden row, I used two large Tupperware containers of fermented scraps.
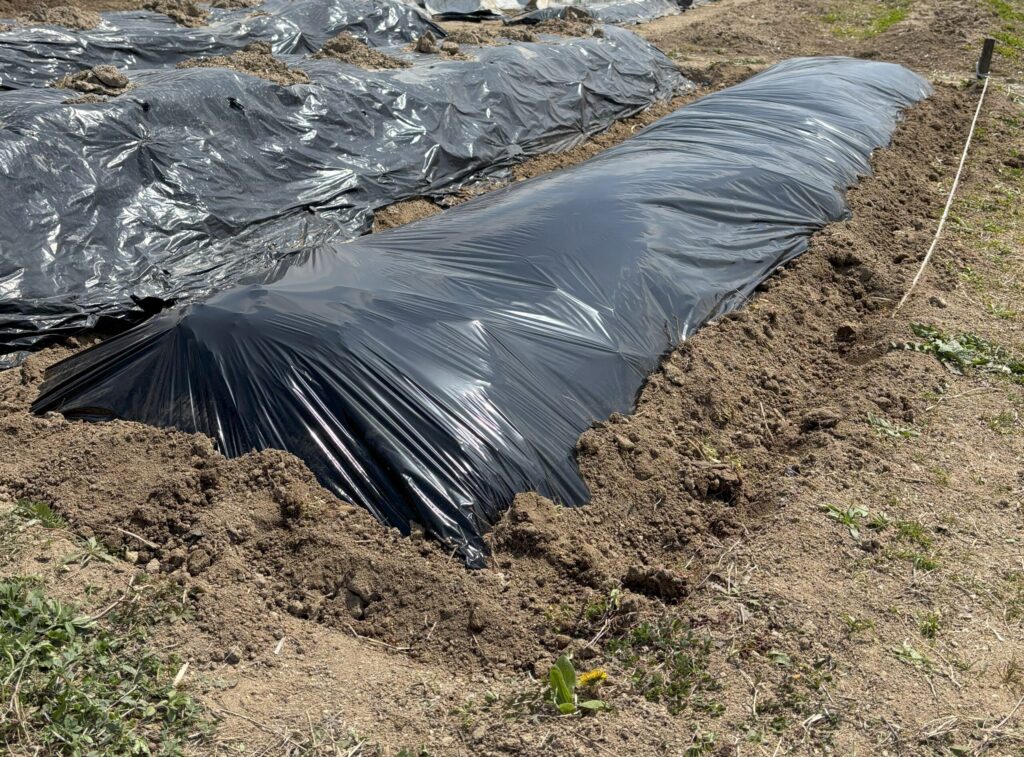
Adding Fermented Kitchen Waste to Garden Beds
- Spread on the soil (I added organic lime first to provide minerals).
- Mix into the soil and form rows about 20 cm high.
- Cover with black mulch, ensuring the soil is sealed to retain heat and enhance fermentation.

Results After One Month
The soil becomes incredibly soft and fluffy. My rental garden has clay soil from when it used to be rice fields, so the improvement was amazing. I planted my favorite tomatoes in this enriched soil.
Challenges and Tips
Honestly, it wasn’t very difficult. Compared to traditional no-fertilizer Kin-chan Farming, the process is simple:
- Materials come from daily household scraps
- Low soil mounds require little physical effort
- Little worry about the fermentation process failing
Benefits:
- Reduces kitchen waste
- Easy for beginners
- Improves soil quality
This is a perfect method for anyone starting organic gardening.
日本語バージョン👇(Japanese version)


コメント