Alright, let’s grow some vegetables!” But where do you even start? It’s confusing, right?
When I first started, I just bought what seemed necessary… beginning without a solid plan led me to overpay for useless items and fail by skipping crucial preparation steps.
To prevent that from happening to you, I’ll explain the necessary steps and what is absolutely essential for your first garden plot.
- 1. Create Your Essential Garden Plan (Don’t Plant Before You Do This!)
- Purchase Necessary Tools & Equipment for Your Allotment
- How to Plan What, Where, and When to Plant (Companion Planting & Rotation)
- 2. Gather Supplies for Soil Preparation (Free vs. Purchased Materials)
- 3. Final Step: Go to Your Garden Plot and Start Soil Prep
- Summary: Plan Your Way to a Successful Allotment
1. Create Your Essential Garden Plan (Don’t Plant Before You Do This!)
Some vegetables shouldn’t be planted next to each other, while others benefit from being companions.
You also need to decide: Will the plant grow tall? Does it need staking? When is the best time to plant? Should you transplant seedlings or sow seeds directly? What kind of soil preparation is best? What size tools and materials are required? There are so many decisions.
If you skip this plan, make your ridges, and plant randomly, you will definitely regret it! (I speak from experience… tears)
First, Research Your Options: Popular Farming Methods
After my initial failure, I read a lot of books!
There are various farming methods. I recommend finding one that appeals to you and fits your lifestyle.
Decide on Your Ideal Growing Method (Organic vs. Conventional)
After gathering information, decide on the farming method you want to use!
Everyone’s goals are different (e.g., organic, fast-growing with chemical fertilizers, low-cost).
The materials you’ll use depend on your chosen method, so research and make a note of which materials and quantities you’ll need!
Purchase Necessary Tools & Equipment for Your Allotment
Only the bare minimum is OK!
It’s best to start small and only add tools if you find you really need them. Tools can be bulky, so beware of overbuying!
| Tool | Why It’s Essential | My Recommendations |
| Boots | Essential for keeping your car/home clean. | Inexpensive ones are fine. Look for a pair with a drawstring top to keep soil out! |
| Trowel / Hand Shovel | Digging, planting, and weeding small areas. | All-stainless steel lasts longest, but a cheap one (e.g., from a dollar store) works for starters. |
| Gloves | Protects hands from soil, cuts, and bugs. | Any sturdy gardening glove will do. |
| Polyethylene or Nitrile Gloves | Worn over work gloves to keep hands dry and comfortable. | Find them in bulk at drug stores or online. |
| Shovel (Spade) | Soil preparation, making ridges, and harvesting root vegetables. | Strongly recommended: All-metal construction, as wood-handled ones tend to snap. |
| Watering Can | For watering new seedlings or crops. | Get a large one (8L or 10L)! Small ones require too many trips to the faucet. |
Useful But Not Essential: The Hoe (Kuwua)

For tilling the soil or laying down mulch, a hoe is much more convenient and saves energy compared to a shovel. It’s a worthwhile investment to save yourself physical labor.
Other Necessary Items (Varies by Method)
What you purchase depends entirely on your soil preparation plan.
- For Kinch-an Method (or similar): EM Bokashi, Organic Lime, Tupperware.
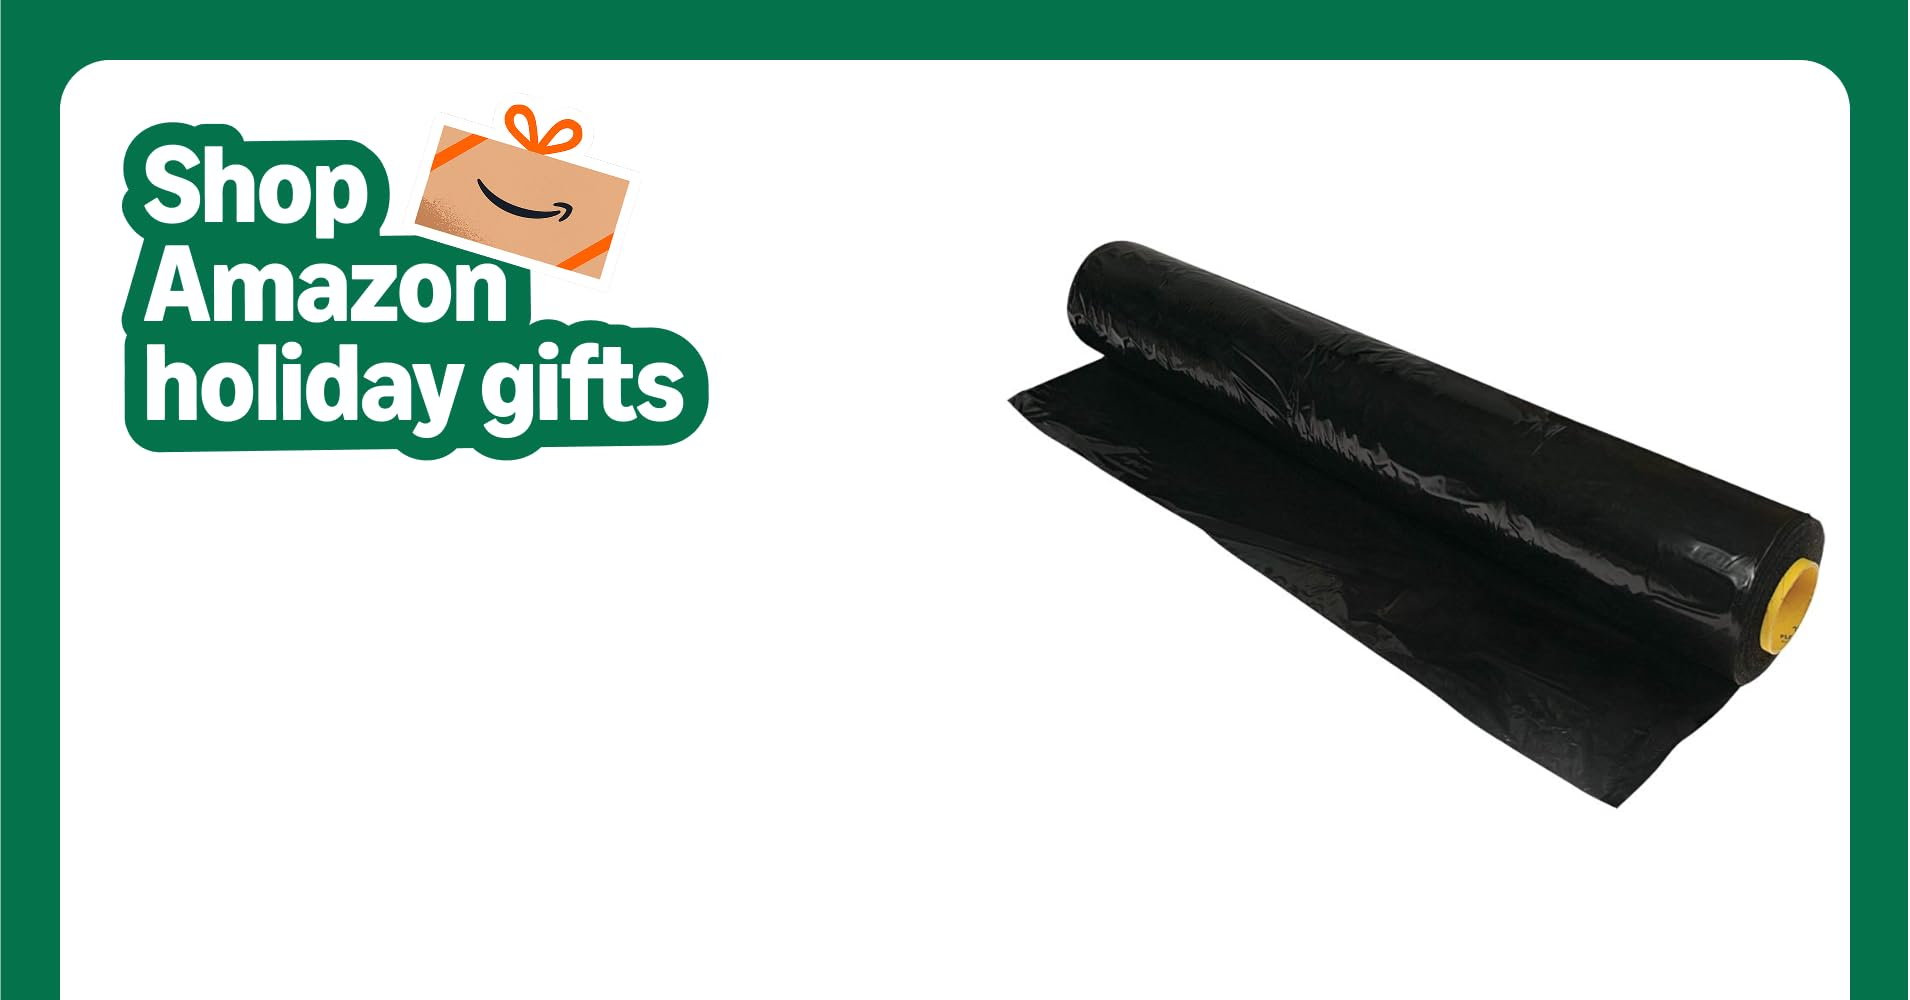
- For Conventional/Standard Method: Black Mulch, Lime (Organic or Chemical), Compost/Fertilizer.
How to Plan What, Where, and When to Plant (Companion Planting & Rotation)
This is the exciting part! But it’s also very difficult~
You must account for companion planting (good/bad neighbors) and crop rotation (avoiding planting the same family in the same spot consecutively).
Start by drawing your plot, noting its dimensions and the cardinal directions (North, South, East, West). Use a pencil or spreadsheet so you can revise!
10-Step Planning Checklist
- List the vegetables you want to grow.
- Note the good and bad neighbors for each vegetable.
- Note the required spacing between seedlings.
- Mark what you will plant on each ridge (plot area).
- Arrange tall vegetables on the North/West side so they don’t shade shorter ones (East to West height gradient).
- Decide whether to use seedlings or sow seeds directly.
- Consider planting companion flowers nearby.
- Consider staking/support needs.
- Note the optimal sowing and planting times.
- Determine the specific soil preparation needed for each ridge.
2. Gather Supplies for Soil Preparation (Free vs. Purchased Materials)
Once your plan is set, it’s time to gather your soil amendments.
- Free Compost/Materials: Many community gardens or local farmers offer free compost. Ask your fellow gardeners! Rice bran and rice hulls are often available for free as well.
- Purchased Materials: Organic lime, fertilizers, and other specific amendments (like EM Bokashi) must be purchased based on your chosen method.
3. Final Step: Go to Your Garden Plot and Start Soil Prep
After all this preparation, you can finally go to your plot!
The first thing you must do is prepare the soil based on your plan. (I’ll explain soil preparation in a separate article!)
Summary: Plan Your Way to a Successful Allotment
To avoid costly mistakes and failures, a plan is essential for everything!
Having a plan will help you avoid wasting money on unnecessary tools and reduce beginner mistakes. This planning process is the same whether you have a large rented plot or a small container garden.
I encourage you to start your organized and planned garden life!


コメント